Building a three dimensional object from a two dimensional material has always interested me from a engineering as well as a material efficiency perspective. I have build many items including desks, tables, bookshelves and bedframes from plywood and other sheet materials. This is the third desk that I have built using a flat, two dimensional material, plywood, joined together to make a three dimensional object, a desk.
The first of my most recent iterations of my desk building was a desk for my wife Alice from sheets of birch veneer plywood with black walnut accents, connecting blocks and brass screw hardware. The connecting block method of joining the flat two dimensional material together worked ok, but was not ideal and was in need of some improvements. In August of 2004 when I was at the International Woodworking Fair in Atlanta, Georgia I visited the show booth of a tool manufacturer Kreg Tool. They make a tool kit called the Kreg Jig that is used for making strong joints in wooden material quickly and easily. After talking to their representatives at length and trying out the tooling on material that they had there I realized some of the potential uses and purchased one of the kits.
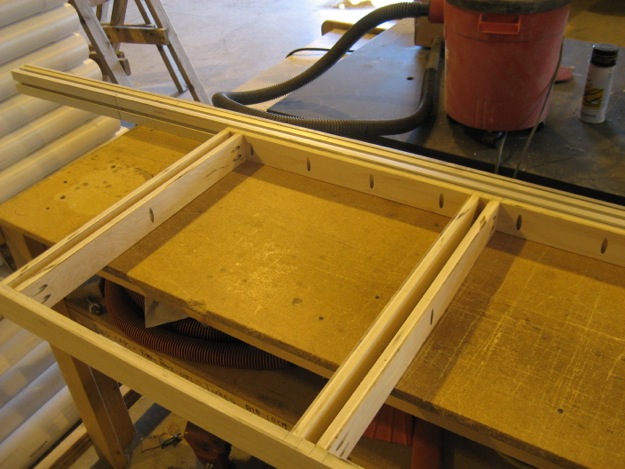
After some experimentation I built a small oak veneer plywood desk, using the Kreg Jig to build a skirt frame that under hangs the desktop surface. In addition to increased strength and rigidity, this skirt frame provides a mounting surface for the panels that would make up the legs and back of the desk supports.
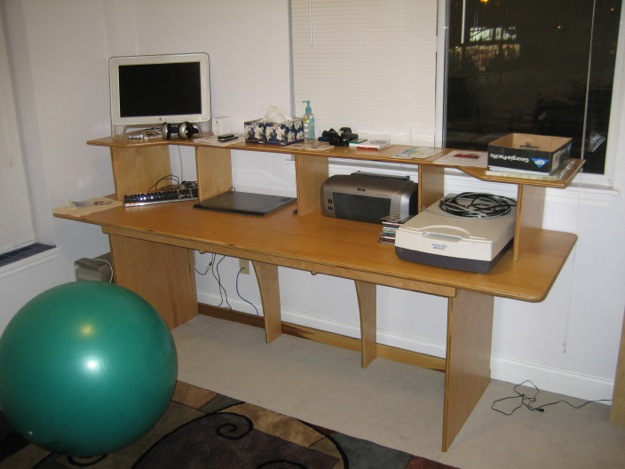
Using the lessons learned on the first two desks, I then decided that I was going to build myself a large plywood desk that roughly resembles the Bureau à gradin style but with modern lines and finish and utilizing the manufacturing and fabrication ideas that I learned using the Kreg Jig.
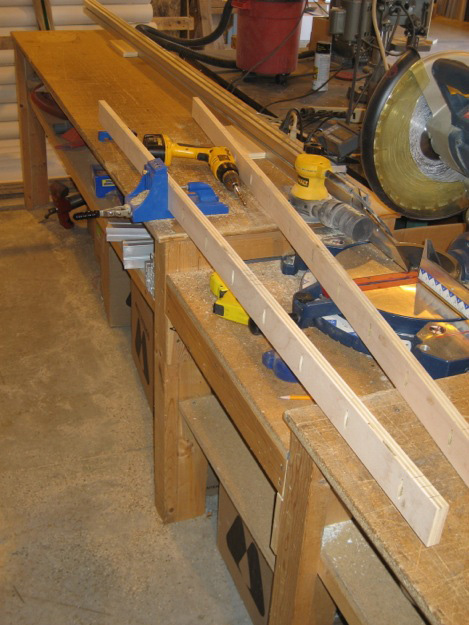
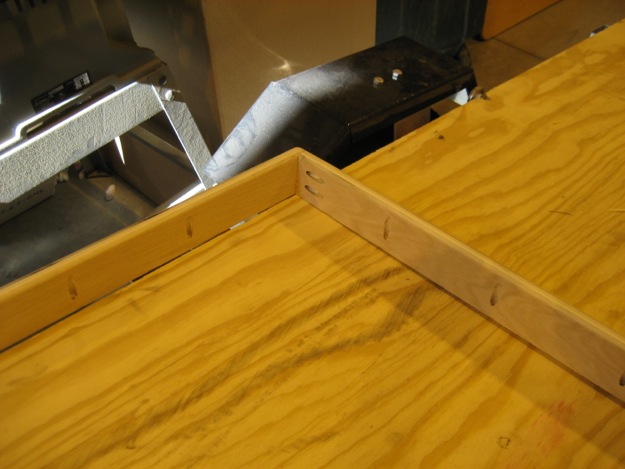
For this desk I used 3/4″ cabinet grade birch veneer plywood throughout. I initially cut the sheets of plywood using a circular saw and straightedge to achive the overall rectangular shapes that I needed. Switching to a jig saw, I cut the corners and straight line transitions to a 1 1/2″ radius and sanded the curves smooth. Then all the edges were rounded over using a router and a 1/4″ radius rounding over bit. At this point I drilled the screw holes in the skirt frame for it’s assembly and to attach it to the desktop surface. Glue and screws were used to assemble the frameworks and then to attach the frame to the bottom of the desktop surface. The shelf is made by attaching five panel legs with glue and screws to the shelf surface. The screw holes are then plugged using birch plugs that are sanded smooth. Stepped sanding of 120 grit and then 220 grit were done to all surfaces to remove any remaining cut marks and surface imperfections before the 4 coats of polyurethane were applied. After a week of drying time the finished pieces were transported to the office where the desk was assembled using sixteen wood screws. Each of the four legs has four screws holding them in place, two at the bottom back side of each leg and two each were the leg slides into its respective slot within the skirt framework.